After Knee Replacement: Using a Walker
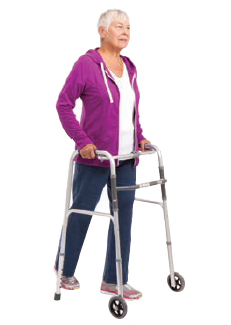
Following your healthcare provider's instructions after knee replacement helps with early recovery. Once you can stand, you’ll start using a walker. Use the walker for moving around as long as the provider asks you to. This is generally four to six weeks but may vary from person to person. There are three main types of walkers:
-
Standard without wheels
-
2-wheeled (front) rolling walker
-
4-wheeled rolling walker
Your physical therapist or another member of your healthcare team will help you select the best walker for you. As you become better at using the walker and your knee strengthens, you’ll be taught more advanced skills. For instance, after your physical or occupational therapist or physiatrist has shown you the correct procedures, you may practice stepping on and off a curb as directed.
Your first steps
-
Push your walker a few inches in front of you.
-
Keeping your back straight, lean on the walker so it supports your weight. Step into the center of the walker with your operated leg, being careful not to twist your leg. Then, step with your other leg.
-
As you get more comfortable using the walker, you may be able to move it as you step.

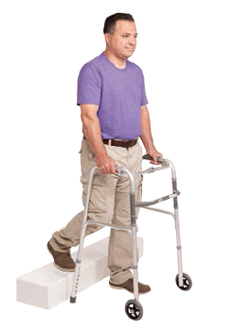
Walking up a curb
-
Move your feet and the walker as close to the curb as possible.
-
Put your weight on both your legs, then lift the walker onto the curb.
-
Step up with the un-operated leg. Using the walker to support your weight, bring up the operated leg.
Walking down a curb
-
Move your feet and the walker as close to the edge of the curb as you safely can.
-
Lower the walker onto the ground, keeping its back legs against the curb.
-
Using the walker to support your weight, lower the operated leg. Then step down with the other leg.
